How to Identify When RV Roof Repair Is Necessary
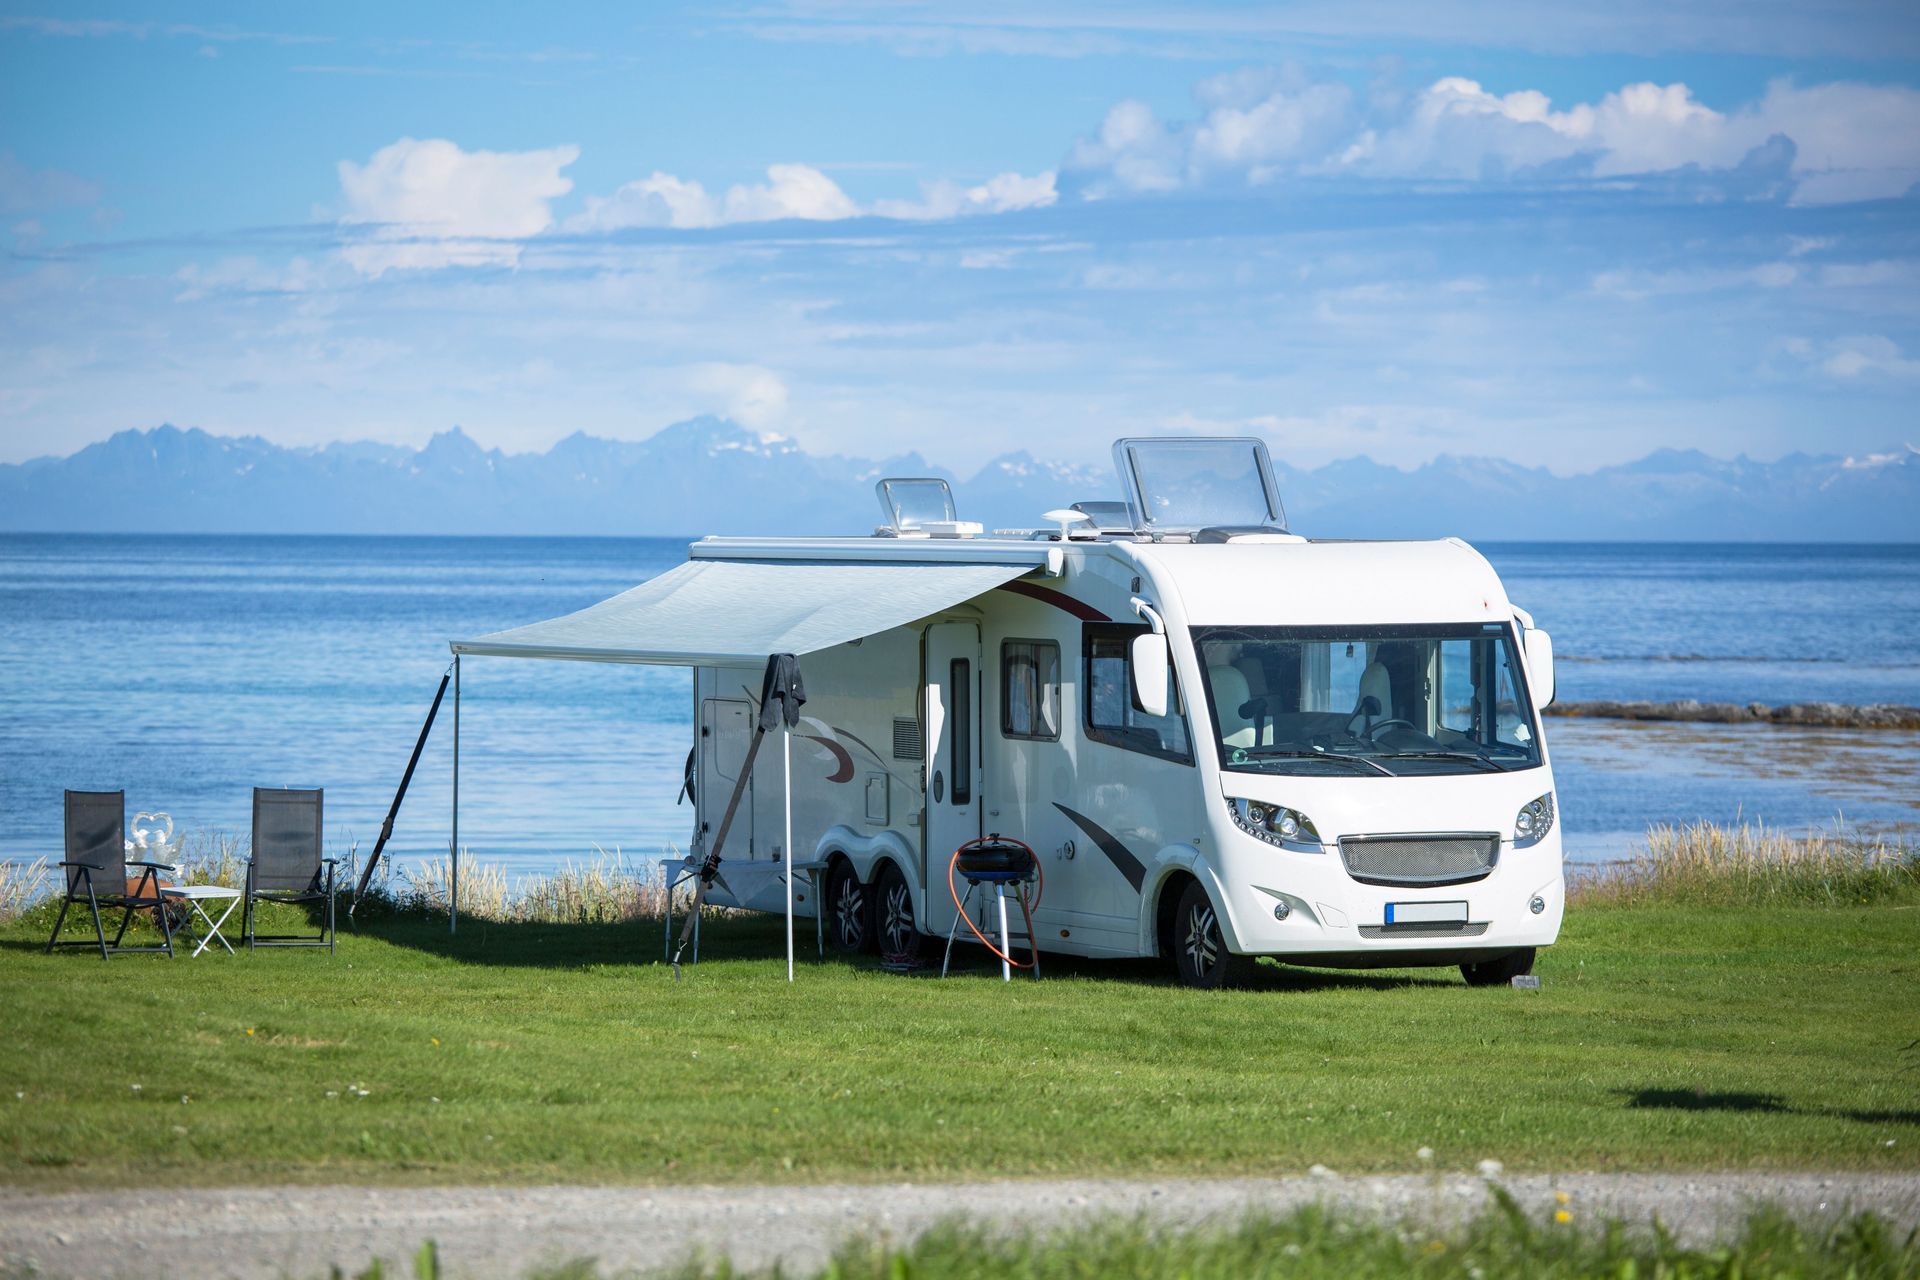
An RV roof serves as the primary barrier between the interior of your recreational vehicle and the elements outside. Whether parked at a campsite or cruising through open highways, your RV roof endures a constant barrage of environmental stress—from scorching sunlight and UV exposure to rainfall, falling branches, and fluctuating temperatures. Over time, this consistent exposure can weaken the structure and make it prone to damage. If not properly maintained, what may start as a minor flaw could eventually lead to major repairs or complete roof replacement. That's why identifying the signs early and taking swift action is critical.
This guide will walk you through how to recognize when RV roof repair is necessary. With insights on what to look for, how to maintain your roof, and when to seek professional help, RV owners can make informed decisions that protect their investment and ensure safe travels.
According to Camper FAQs, over 80 million people camp in the U.S., and 50.9% of them choose to camp using an RV or camper van. With so many relying on these vehicles for comfort and adventure, proactive maintenance has never been more essential.
1. Inspect the Roof Surface Regularly
Frequent visual inspections are one of the best ways to stay ahead of potential roof problems. Different materials react differently to stress:
- EPDM Rubber: Flexible and affordable, but it can chalk over time and develop cracks.
- TPO: UV-resistant and strong, but vulnerable to punctures.
- Fiberglass: Durable, though susceptible to impact cracks.
Walk around and on your RV roof (if safe) and look for discoloration, bubbling, soft spots, cracks, or loose fasteners. Doing this at least twice a year, or after long trips or severe storms, can catch issues before they worsen.
Even small punctures or worn areas can lead to leaks, making RV roof repair an urgent priority if any of these signs appear.
2. Look for Water Damage Inside the RV
Interior warning signs often reveal roof problems that may not be visible from the outside. Watch out for:
- Ceiling Stains: Often yellow or brown and irregular in shape, stains are a common symptom of water intrusion.
- Sagging Panels or Soft Spots: Press gently along the ceiling; any give may mean moisture has weakened the structure.
- Mold and Mildew: If you smell musty odors or see black spots on surfaces, there's likely a leak feeding fungal growth.
When these signs are present, you’ll need RV roof repair fast to prevent structural issues and health hazards.
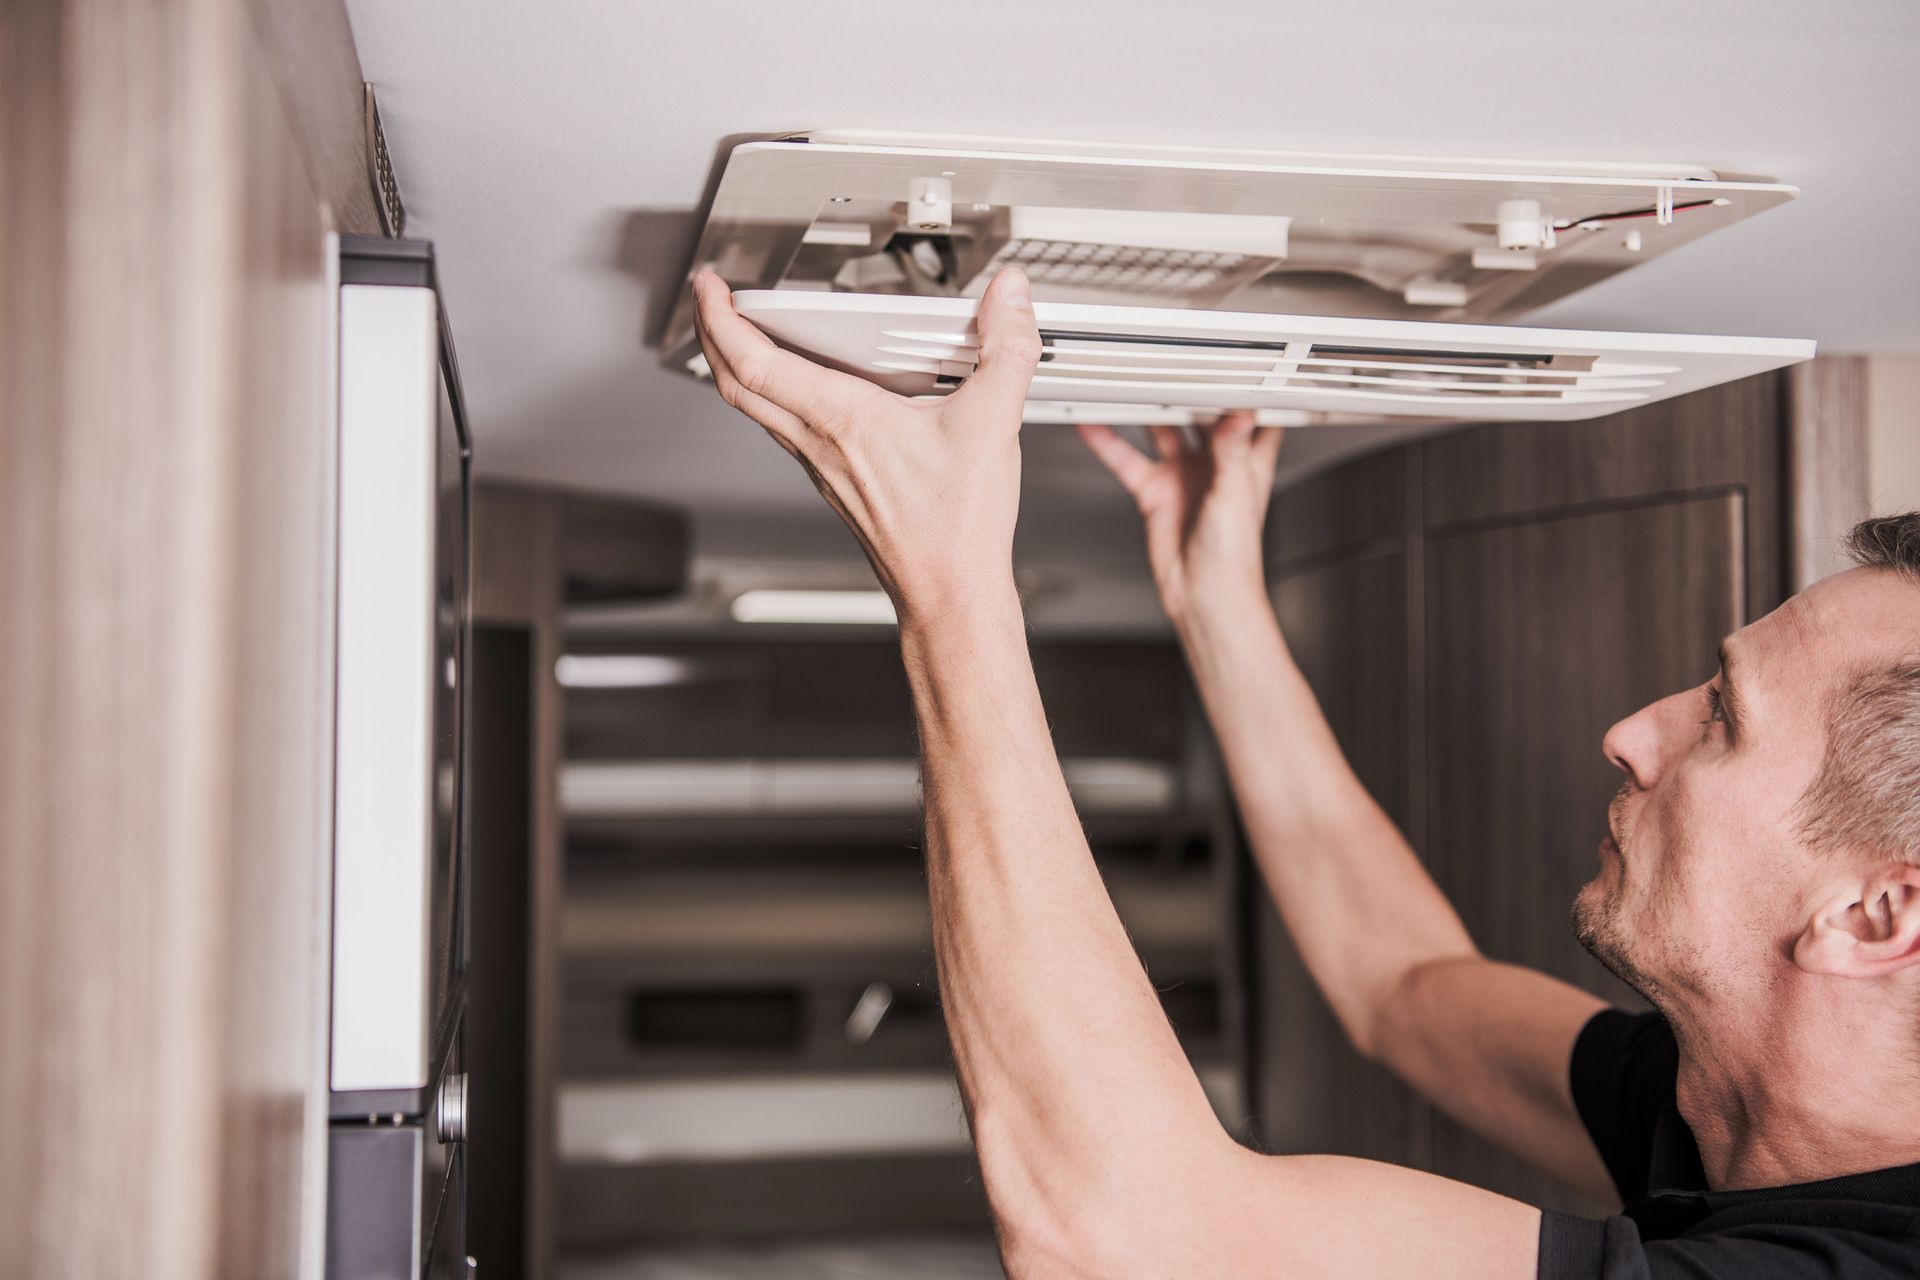
3. Check and Maintain Seals and Seams
Seals and seams are the joints between panels and components, such as vents, skylights, AC units, and antenna mounts. These spots are particularly prone to water intrusion.
- Look for cracked, brittle, or peeling sealant.
- Reapply compatible sealant where gaps or separations are visible.
- Consider using tape-based seam sealants for added durability.
Regular attention to these areas ensures long-term resistance to moisture. Neglecting them could lead to leaks and eventually, rotted wood or electrical damage.
Keeping these sections well-maintained can greatly reduce the frequency of RV roof repair and extend the roof's lifespan.
4. Monitor Damage from External Sources
Your RV’s travels expose it to a variety of external threats. Understanding and monitoring these risks helps prevent damage.
- Tree Limbs and Debris: Even minor contact can create scratches or gouges that compromise the roof’s surface.
- Severe Weather: Hail, heavy winds, and snow buildup all present a threat. UV exposure can dry out and weaken roofing materials over time.
- Temperature Fluctuations: Expansion and contraction due to weather changes cause stress and can lead to cracking.
Check for physical punctures, warped areas, or peeled coatings. Use a flashlight and a straight edge to detect uneven spots or subtle dips that may collect water.
If you find external damage, patch it as soon as possible or seek professional RV roof repair before interior problems arise.
5. Determine Whether to Repair or Replace
Not every issue requires a full replacement, but knowing when repairs are no longer enough can save time and money in the long run.
Key Indicators for Repair:
- Localized damage (e.g., small punctures or limited cracking).
- Sealant issues are confined to a small area.
- Minimal water stains or no visible mold.
Key Indicators for Replacement:
- Widespread water intrusion.
- Mold in multiple areas or deteriorating insulation.
- Cracks across large roof sections.
- Roof material nearing or exceeding its life expectancy (10–20 years).
Professionals can perform moisture mapping and thermal imaging to determine the severity of damage. When in doubt, get multiple evaluations to make the best decision for your RV’s future.
Either way, timely action prevents worsening damage and costly replacements, while effective RV roof repair can buy years of additional use.
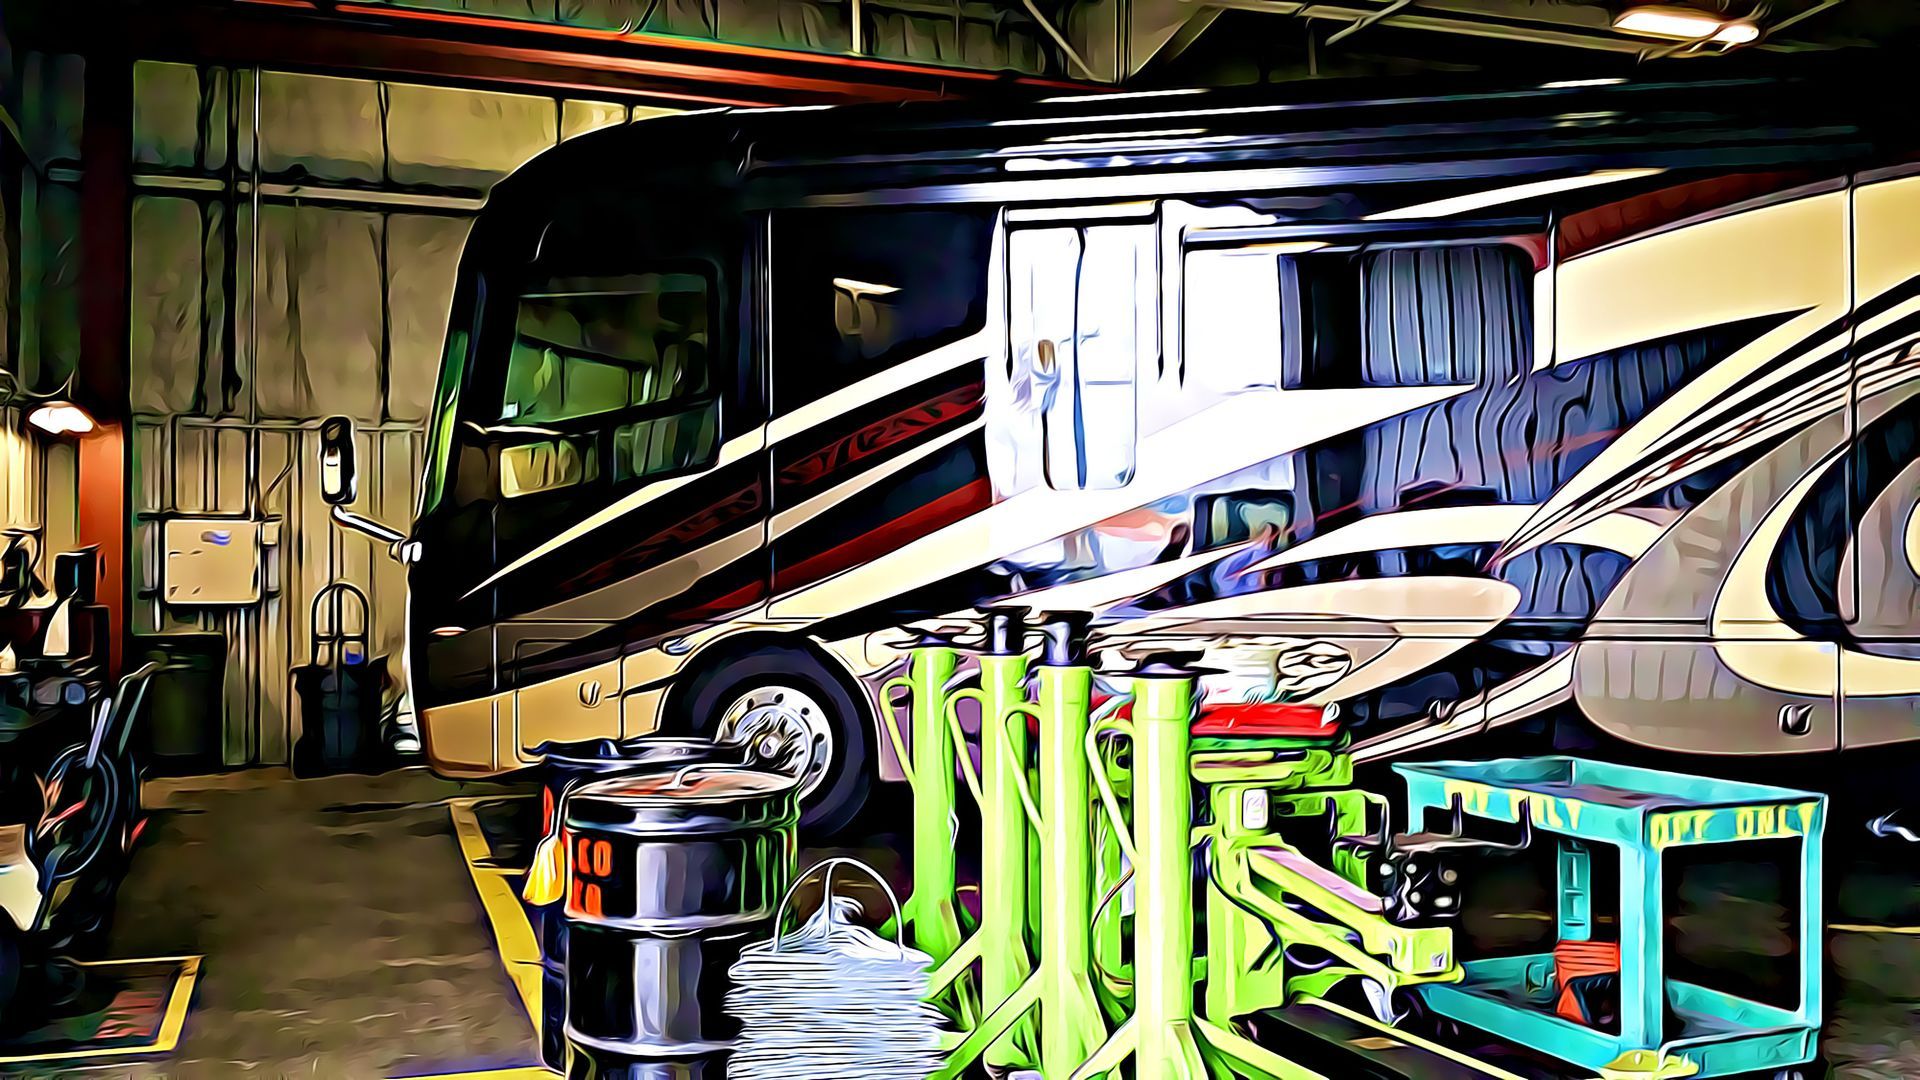
6. Use the Right Tools or Call in Experts
If you're comfortable performing minor fixes, here are the essentials you should keep in your toolkit:
- Roof-Compatible Sealants (self-leveling for horizontal surfaces, non-sag for vertical seams)
- Roof Coatings (compatible with EPDM, TPO, or fiberglass)
- Cleaning Tools (soft brushes, non-abrasive cleaners)
- Moisture Detectors
- Patch Kits and Rubber Roofing Tape
Basic DIY Steps:
- Clean the affected area thoroughly.
- Remove any loose or damaged material.
- Apply the patch or sealant per the manufacturer's guidelines.
- Let dry completely before exposure to weather.
While DIY repairs are suitable for simple jobs, many scenarios benefit from professional attention. Examples include:
- Soft decking that suggests internal wood rot.
- Mold remediation.
- Recurring leaks despite multiple DIY attempts.
Professional technicians have the tools and training to safely perform RV roof repair and can often spot hidden problems that DIYers may miss. Their experience allows them to recognize early warning signs of more severe underlying issues that aren’t obvious at first glance. With access to commercial-grade materials and advanced diagnostic equipment, these experts can ensure the job is done right the first time. Moreover, professional repairs come with service warranties that offer peace of mind, especially when dealing with major investments like an RV. For long-term protection and reliability, it often pays to leave complex repairs in the hands of qualified specialists.
Bonus Tips for Longevity and Preventive Maintenance
- Install UV-resistant Covers: These can extend your roof’s life by shielding it from direct sun exposure.
- Document All Repairs: Keep receipts, before-and-after photos, and maintenance logs. These are helpful for resale value and warranty claims.
- Conduct Seasonal Cleanings: Spring and fall cleanings help remove debris and give you a chance to inspect surfaces closely.
- Recoat Annually: If your roof material supports it, recoating can refresh its protective barrier and keep seams watertight.
- Inspect Around Add-Ons: Rooftop solar panels, antennas, and AC units can be sources of leaks if not sealed correctly.
Recognizing when RV roof repair is necessary can mean the difference between a simple patch job and thousands of dollars in water damage. With routine inspections, proper maintenance, and timely repairs, RV owners can extend their vehicle’s lifespan and enjoy uninterrupted adventures.
Given the millions of Americans who enjoy RV travel every year, staying proactive with roof care is a vital step to keeping your vehicle comfortable and safe. Don’t wait until you see mold, leaks, or sagging ceilings—take action early and consistently.
If you're unsure whether a repair or full replacement is right for your RV, the experts at RV Roof & Repair Oklahoma can help. Our experienced team offers comprehensive assessments and solutions tailored to your RV’s needs. Contact us today for a consultation and let us help keep your RV adventure-ready for years to come.

Share On: